1. Intro
Last time, I wrote an article about bypassing God’s government restrictions to be able to access the outside world. Now the base solution still stands, but the protocol we used to implement that solution no longer works. We can clap our hands to the government priests for upgrading their knowledge about VPN protocols and say bravo in chinese “高丝纳纳顿”.
As our government and Chinese folks are each other’s besties and in the same bed! we can conclude that any protocol that works on the great firewall of china, should work for the evils firewall of the Islamic Republic!
V2Ray is a VPN protocol written with love by some free Chinese people. It works on the application layer and its traffic looks like working with an actual web-site and it’s less prone to detect. The problem with V2Ray is the english language support, documentations and weak client software which can easily be improved if their community decided to share their information and issues in english not in fucking chinees!
For this article we consider you have access to a Virtual Machine in the outside world. You can access that machine using SSH or you can easily install a cockpit to be able to access your Linux machine through the browser.
1.1 Installing Cockpit (Optional)
To install Cockpit, connect to your machine using ssh and use the aptitude package manager to install cockpit:
$ sudo apt update --yes
$ sudo apt upgrade --yes
$ sudo apt install cockpit --yes
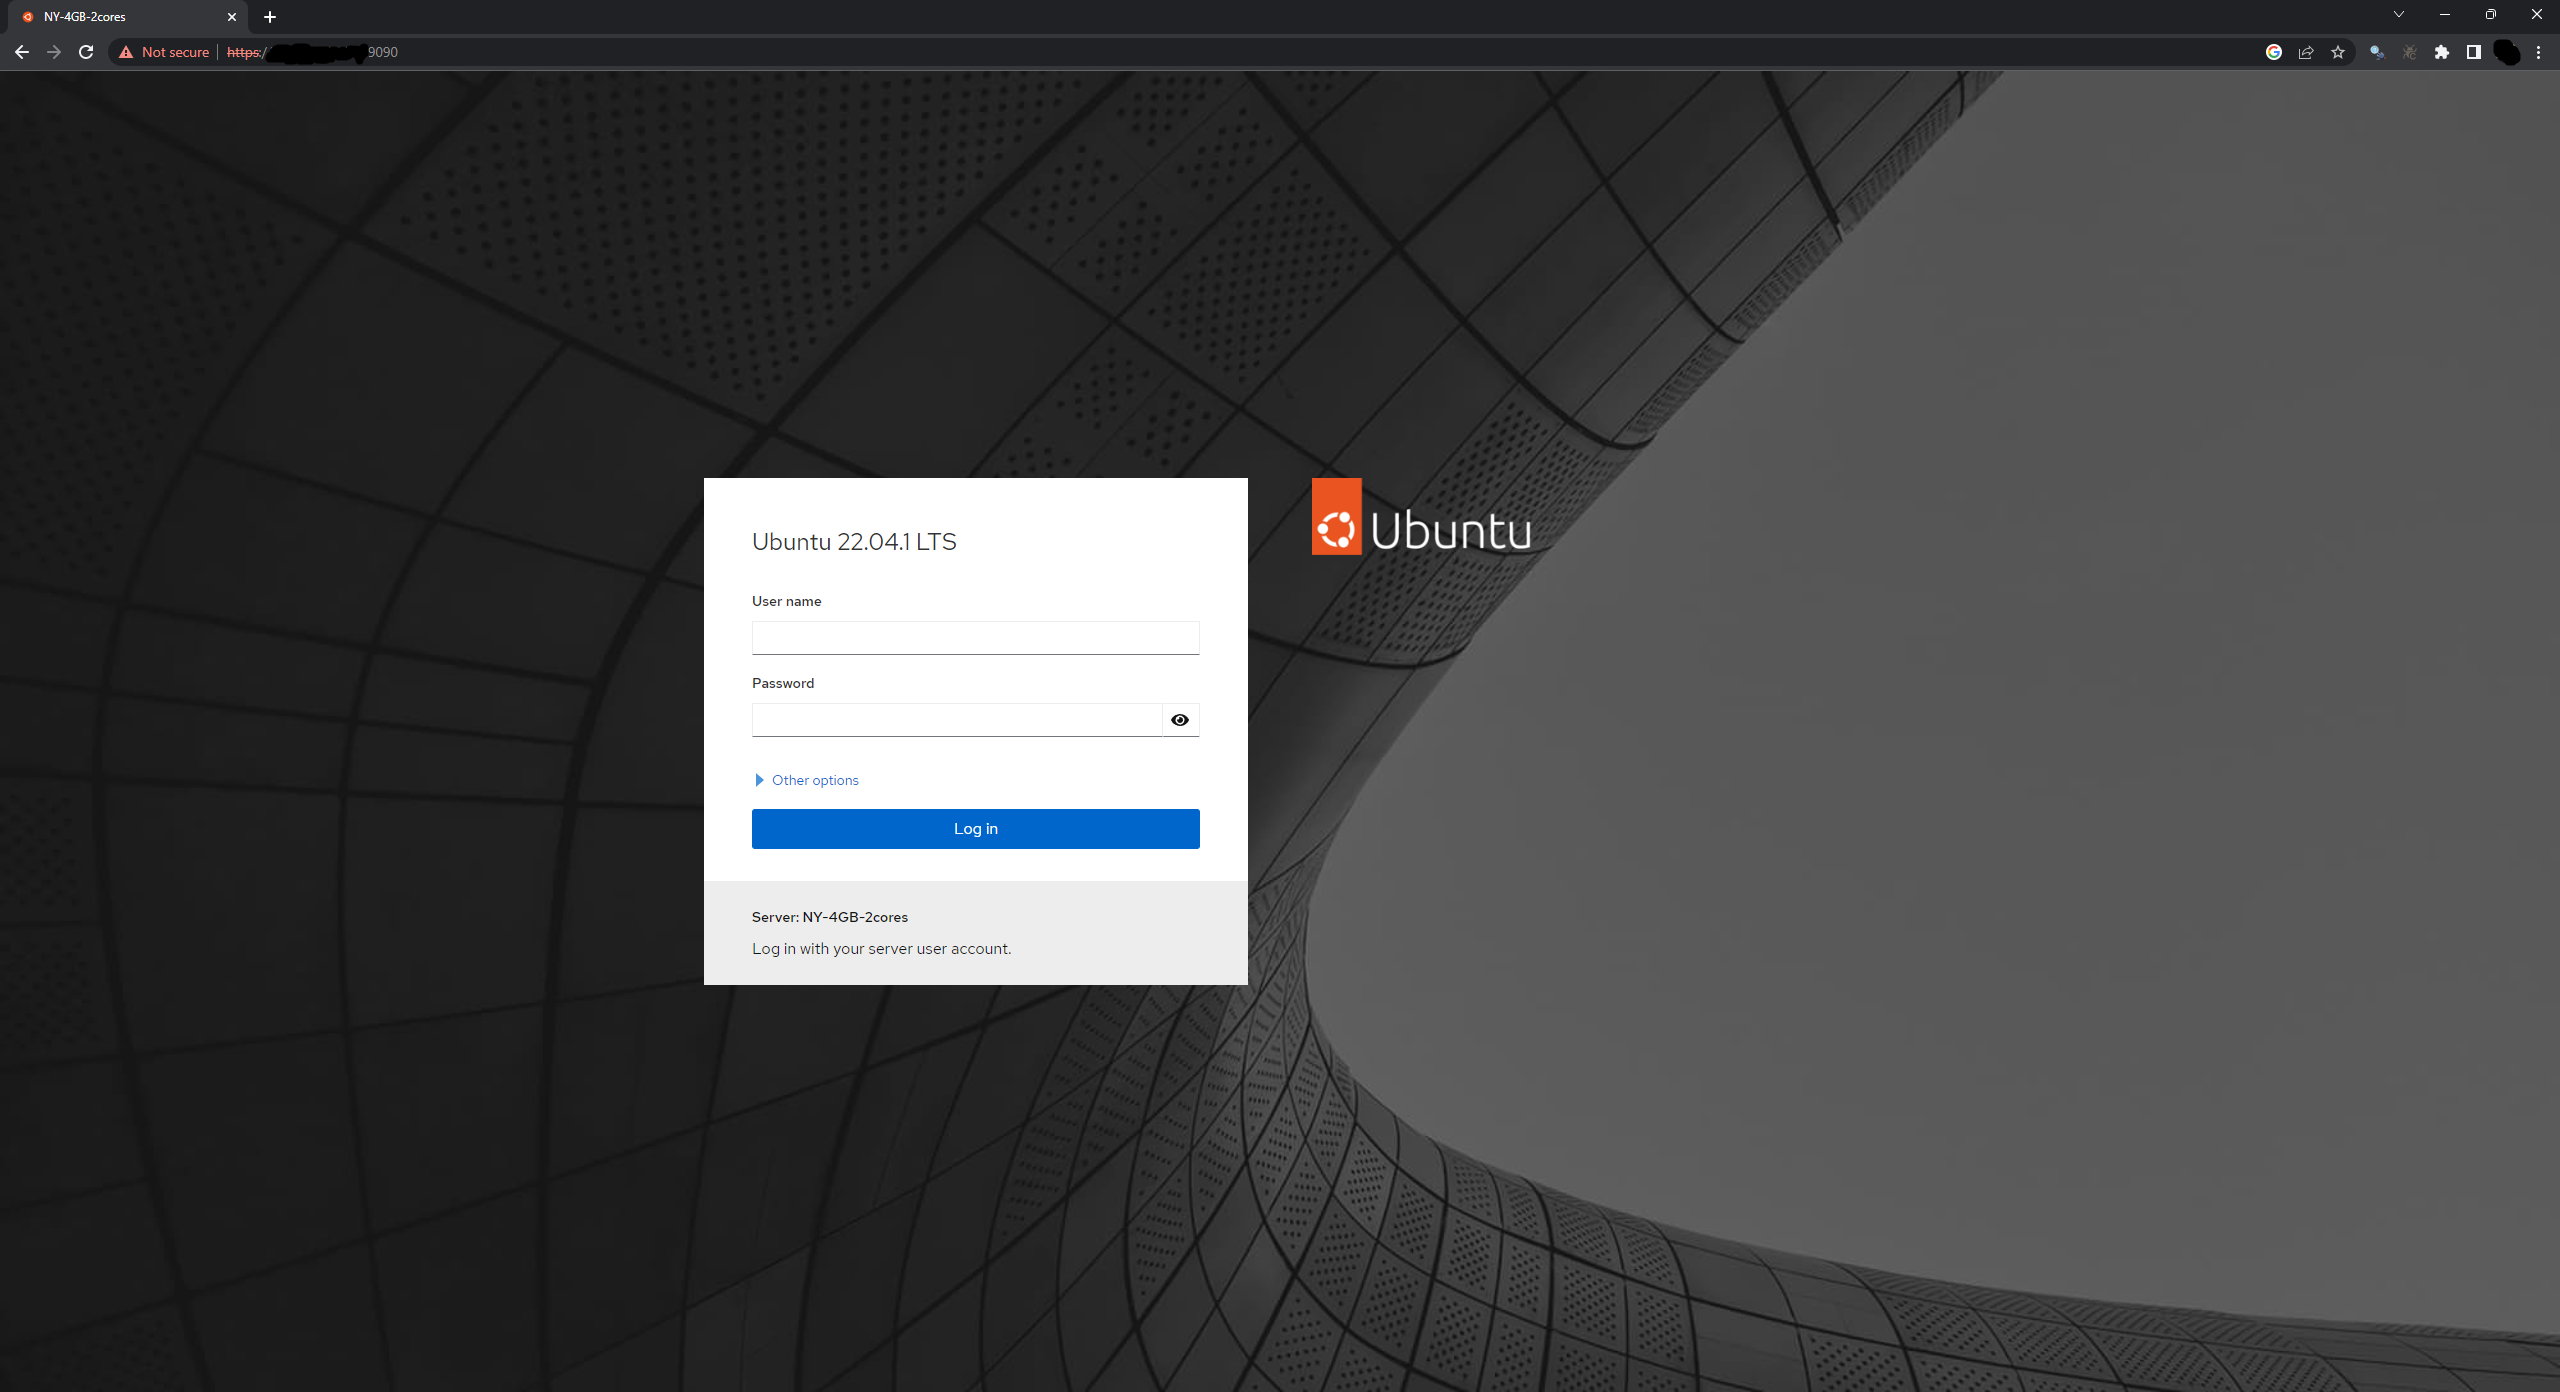
This should install the cockpit and does all the configuration for you. The cockpit is a web-based control panel and it will run on port 9090 of the server so, you have to allow connecting this port if your firewall is enabled:
$ sudo ufw allow 9090
$ sudo ufw disable
$ sudo ufw enable
Then open a browser and type the address YOUR_VM_IP:9090 to see the cockpit panel.
Username and password of cockpit panel are the same as your vm user for example:
username: root
password: 123456
2. Installing V2ray using X-UI
To install V2ray you can easily install X-UI panel on your machine and this will automatically install all necessary things for you. X-UI documentation could be found here: seakfind
The installation process is pretty easy, just connect to your machine and install socat first:
$ apt install curl socat -y
Then you can skip obtaining certificate steps and directly jump on installing the x-ui using its script:
$ bash <(curl -Ls https://raw.githubusercontent.com/vaxilu/x-ui/master/install.sh)
Then it will ask you to type yes|no, you type yes and press enter on any chinese message prompt it shows to you. That’s it, you can start the panel by typing:
$ x-ui start
It starts the X-UI panel on the port 54321 of server. Open a browser and type YOUR_VM_IP:54321 in the address bar to see the panel. Default username and password are:
username: admin
password: admin
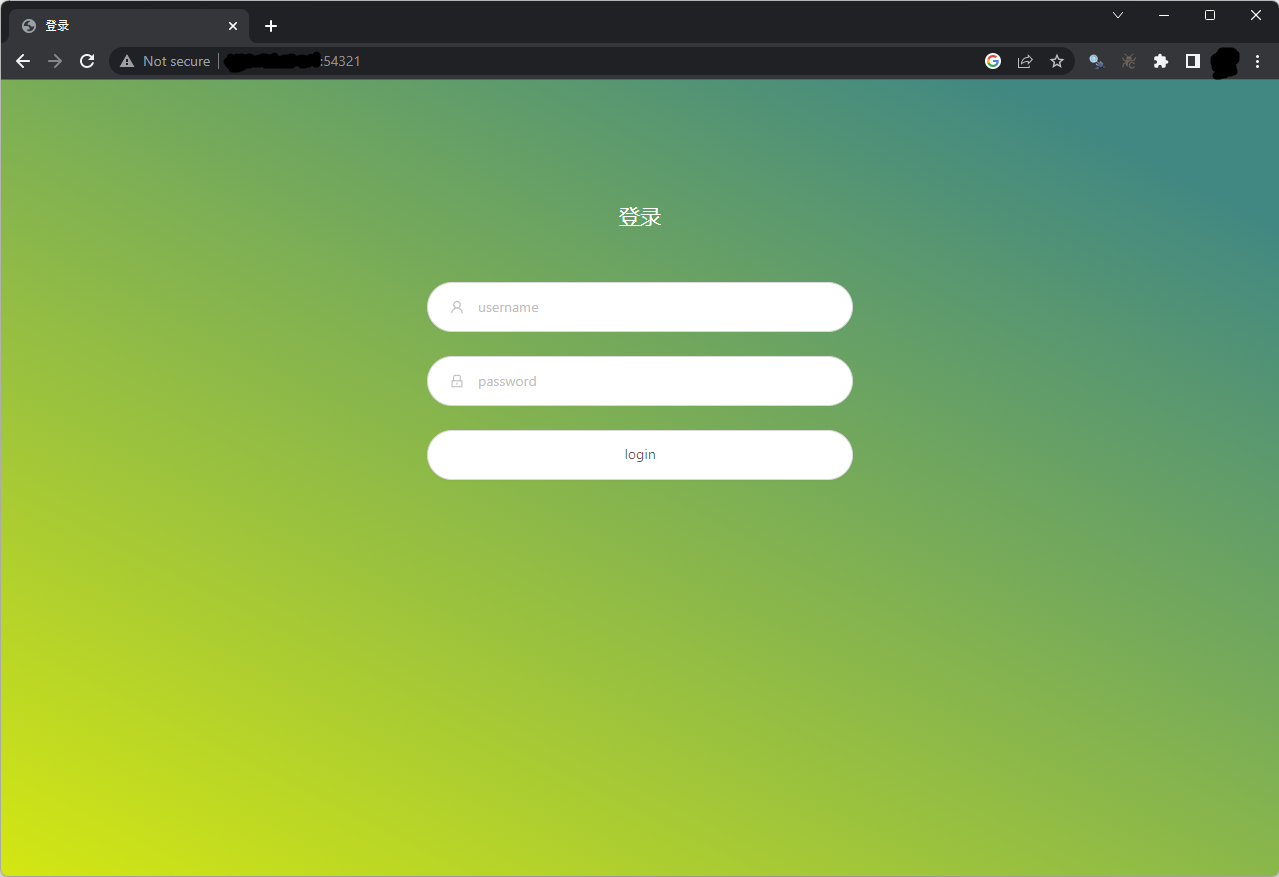
Default language of x-ui is Chinese, I use Google Chrome and Google Translate to translate its content to English, and I recommend you do the same.
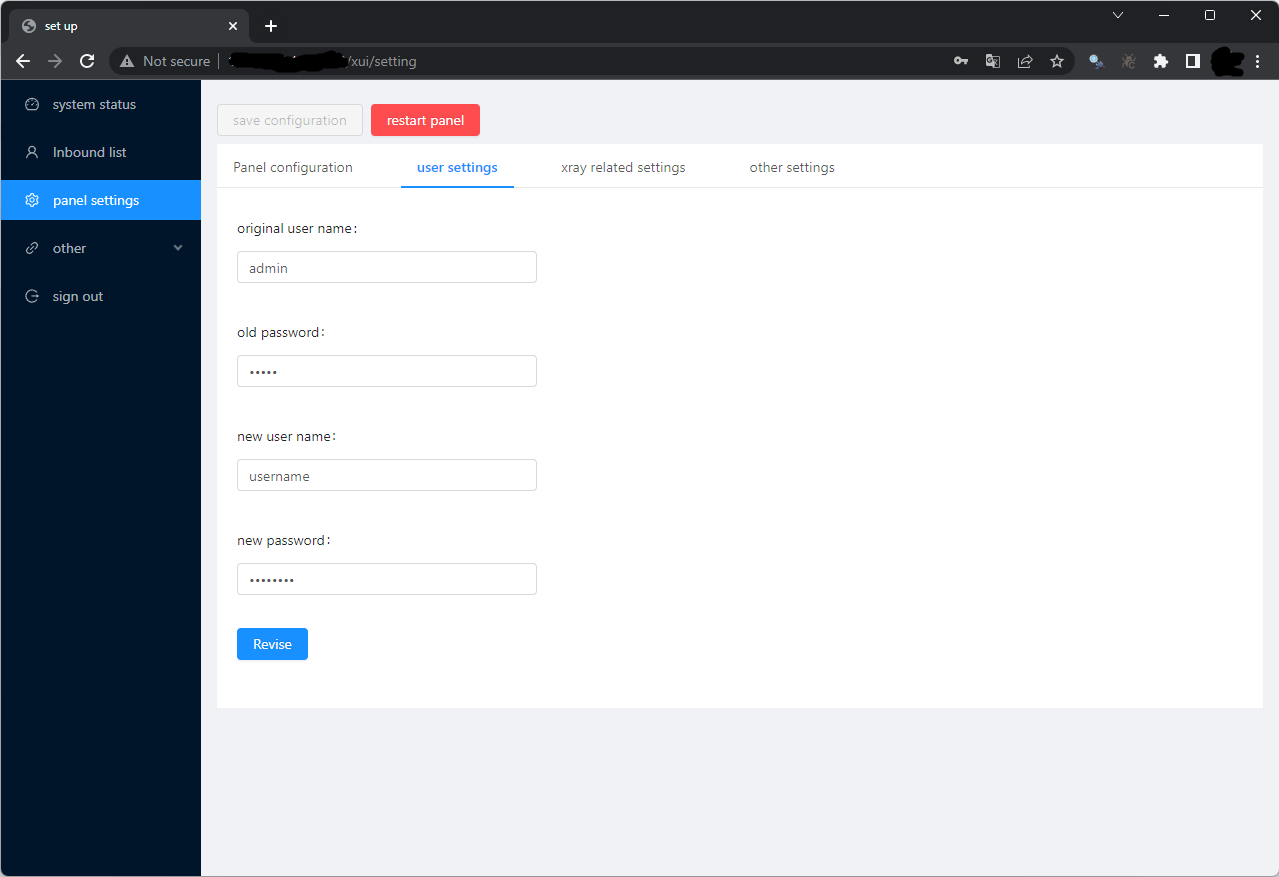
After login, you have to go and change the default username and password of the panel (You can change the default port as well). From the sidebar panel select the third option, then select the second tab. Now type the old username and password on first two fields the new ones on the next two. Press Revise to save the changes.
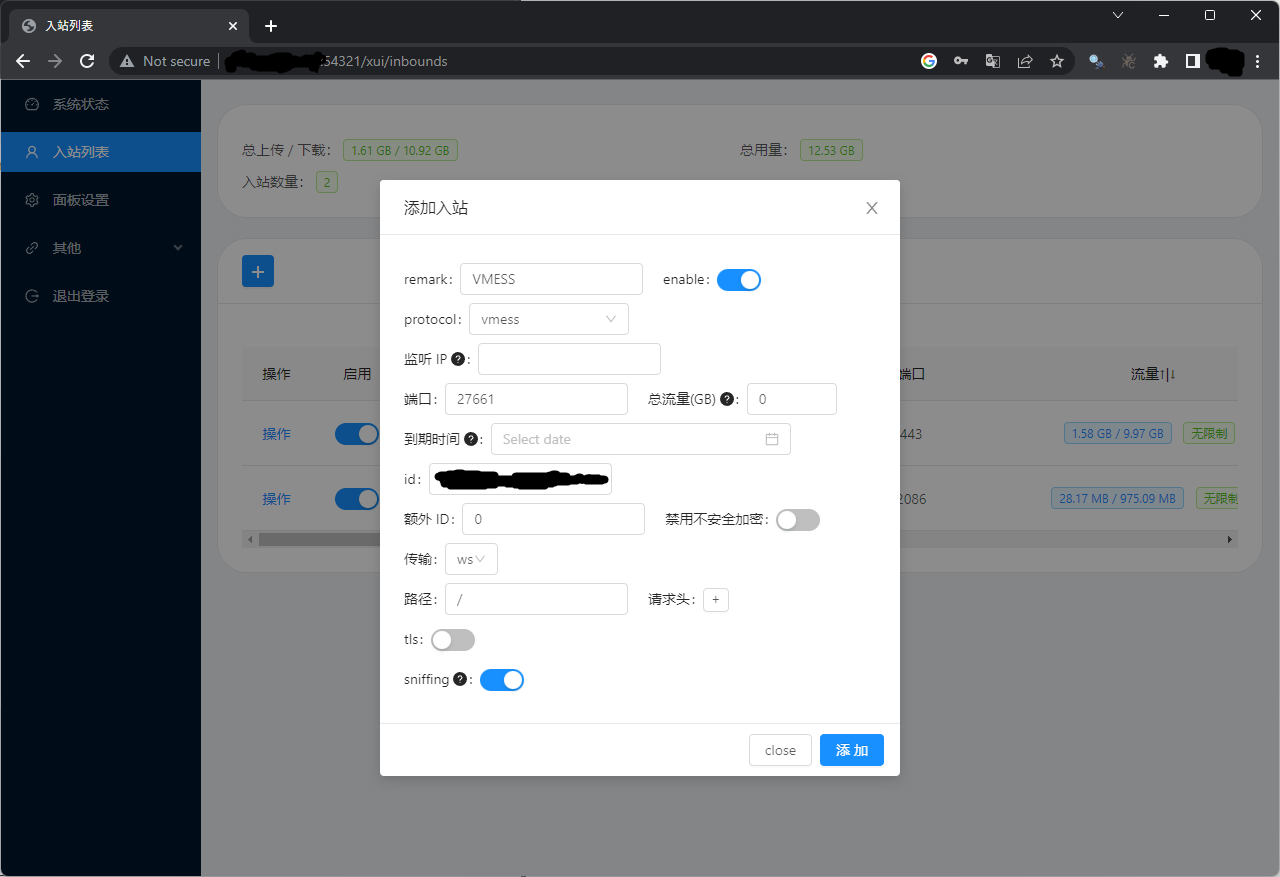
Now go to inbound list from the sidebar and press add for creating a new VPN configuration. For example you can select the VMess or VLess protocol under Websocket (ws), as you can see in the picture below. If you choose VLess, be aware that it has no encryption of its own, so VMess is the better choice.
Note: You can go and search for other V2Ray configurations but VMess is good enough for our article.
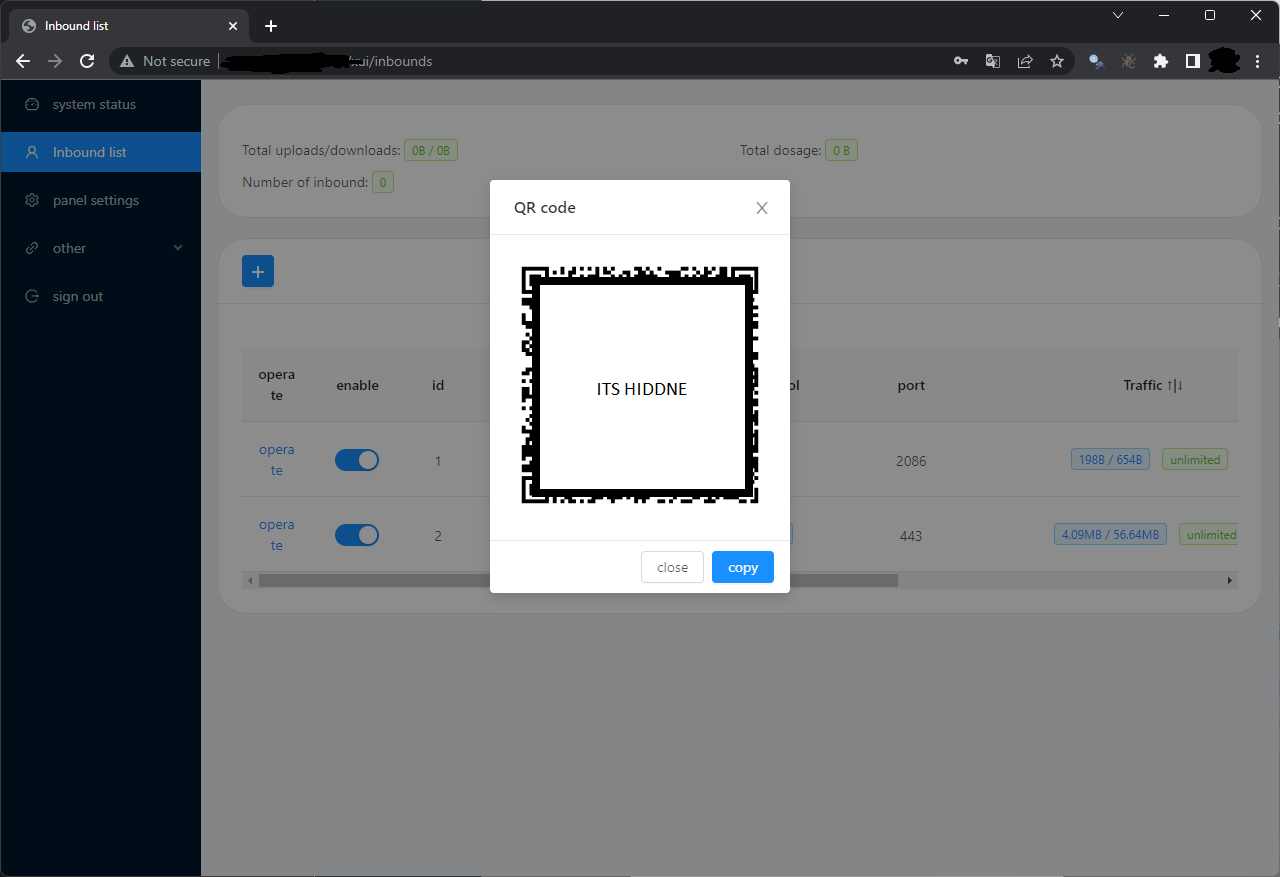
Now, you are all set, you can scan the QR code or press copy share link to copy the share link to the clip board and send it to your clients.
3. Clients setup for using V2Ray
To connect to the V2Ray server you have to install the proper client application on your devices. Here is a list of application clients for different devices and operating systems:
- Android: V2rayNG (Google play)
- IOS: NapsternetV (App Store)
- Windows: Qv2ray-v2.7.0-Windows-Installer.exe
- Mac OSX: Qv2ray-v2.7.0-macOS-x64.dmg
- Linux: Qv2ray-v2.7.0-linux-x64.AppImage
4. Using TLS (Optional but, recommended.)
To make the clients connection more secure and safer, we need to use TLS on our server.
4.1 What is Transport Layer Security (TLS)?
Transport Layer Security, or TLS, is a widely adopted security protocol designed to facilitate privacy and data security for communications over the Internet. A primary use case of TLS is encrypting the communication between web applications and servers, such as web browsers loading a website. TLS can also be used to encrypt other communications such as email, messaging, and voice over IP (VoIP). In this article we will focus on the role of TLS in web application security.
TLS was proposed by the Internet Engineering Task Force (IETF), an international standards organization, and the first version of the protocol was published in 1999. The most recent version is TLS 1.3, which was published in 2018.
4.2 Buy a domain
TLS certificates are issued for domain names, not bare IP addresses, so the first thing you need is a domain. Any registrar works, Namecheap, Cloudflare Registrar, or a local one, it makes no difference here. Pick something cheap, you don’t need anything fancy for a personal VPN endpoint.
Once you own the domain, go to its DNS settings and add an A record pointing to your server’s IP:
Type: A
Name: vpn (or @ for the root domain)
Value: 77.222.67.140   # your server's IP
TTL: Auto
Give it a few minutes to propagate, then confirm it resolves:
$ dig +short vpn.yourdomain.com
77.222.67.140
If that prints your server’s IP, you’re ready for a certificate.
4.3 Generating a new certificate using certbot
Certbot is the standard tool for getting free certificates from Let’s Encrypt. Install it with snap, which is the method Certbot’s own docs recommend these days:
$ sudo apt install snapd --yes
$ sudo snap install core; sudo snap refresh core
$ sudo snap install --classic certbot
$ sudo ln -s /snap/bin/certbot /usr/bin/certbot
Certbot needs to answer a challenge on port 80 to prove you control the domain, and since x-ui isn’t listening there, the standalone method is the simplest option:
$ sudo certbot certonly --standalone -d vpn.yourdomain.com
Follow the prompts (email address, agree to the terms), and if the A record from the previous step is correct, Certbot will drop your certificate here:
/etc/letsencrypt/live/vpn.yourdomain.com/fullchain.pem   # certificate
/etc/letsencrypt/live/vpn.yourdomain.com/privkey.pem     # private key
Let’s Encrypt certificates expire after 90 days, so set up auto-renewal instead of babysitting this by hand. The snap install already ships a systemd timer that runs twice a day and only renews when a certificate is close to expiring, you can confirm it’s active with:
$ sudo systemctl list-timers | grep certbot
4.4 Enabling TLS on the X-UI inbound
Now point x-ui at the certificate you just generated. Open the panel, edit your existing inbound (or create a new one), and turn on the TLS switch. It’ll ask for two file paths, point both at the files Certbot just created:
Public key (certificate): /etc/letsencrypt/live/vpn.yourdomain.com/fullchain.pem
Private key:               /etc/letsencrypt/live/vpn.yourdomain.com/privkey.pem
Save the inbound, then update the client’s share link or QR code, it now needs tls as the security setting and the domain name instead of the bare IP, so the client actually validates against vpn.yourdomain.com. Since the private key file is only readable by root, make sure x-ui itself is running as root (which, by default, it is) or the service will fail to start after this change.
That’s it, your traffic is now wrapped in real TLS, on top of V2Ray’s own obfuscation, which makes it look even more like ordinary HTTPS browsing to anything inspecting the connection.
4.5 Activating CDN (Optional but recommended)
Putting your server behind a CDN like Cloudflare hides its real IP behind Cloudflare’s edge network. Even if your domain gets fingerprinted and blocked, your actual VM’s IP stays usable for other domains, and blocking it directly would mean blocking a chunk of Cloudflare’s shared IP range, which is much less appealing to a censor than blocking one server.
There’s a catch: Cloudflare’s free proxy only forwards HTTP/HTTPS traffic (ports 80/443) and only understands WebSocket for anything that isn’t plain HTTP. Which is exactly why we set up the inbound with the Websocket(ws) transport back in Section 2, this whole setup was built to be CDN-compatible from the start.
To turn it on:
- Add your domain to Cloudflare and update your registrar’s nameservers to the ones Cloudflare gives you.
- In the DNS tab, make sure the
Arecord forvpn.yourdomain.comhas the proxy status set to Proxied (the orange cloud, not the grey one). - Under SSL/TLS settings, set the encryption mode to Full (strict). This makes Cloudflare validate the certificate your origin server presents, which is exactly the Let’s Encrypt certificate from Section 4.3, so don’t skip that step.
- On your V2Ray client, leave the port at
443and the host/SNI as your domain, that traffic now goes client → Cloudflare edge → your server, encrypted the whole way.
Note: routing VPN traffic through a CDN sits in a grey area of most providers’ terms of service. Keep the client count low, don’t advertise it, and be ready to fall back to the direct IP if the domain ever gets flagged.
Comment Channel